Get notifications when Entra ID break glass admins are used
Categories:
As we want to secure our Break Glass Accounts as good as possible, we cloud want to get alerts when break glass admins are used to login. Maybe they are used on a daily basis, or are being attacked. When we configure notifications, we instantly know when the accounts are being used and can check why a login has taken place.
In this guide we will configure this without Microsoft Sentinel. If you already have a Sentinel workspace, the recommended action is to configure it there and to configure a automation rule/playbook.
The alert solution described
The solution we will configure looks like this:
- Log Analytics Workspace
- Set diagnostic settings for Entra ID sign in logs to write to Log Analytics
- Set query to find successful or non-succesful sign in attempts (based on your needs)
- Set Azure Monitor alert to alert admins of the attempts taking place
- After all this we will test this to test if this works as excpected
Here we use all the features inside Azure only, and no 3rd party solutions.
Step 1: Configure Log Analytics Workspace
We will start configuring our Log Analytics Workspace in Azure. This can be simply described as database for logs and metrics. Using specific queries, we can pull data our of it to use in dashboards, workbooks and like we do now; Alert rules.
Login to the Azure Portal and search for “Log Analytics Workspace”:
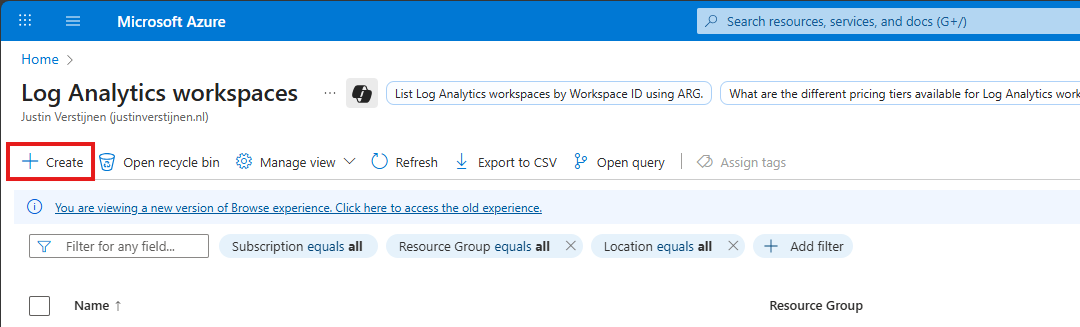
Click on “+ Create” to create a new workspace.
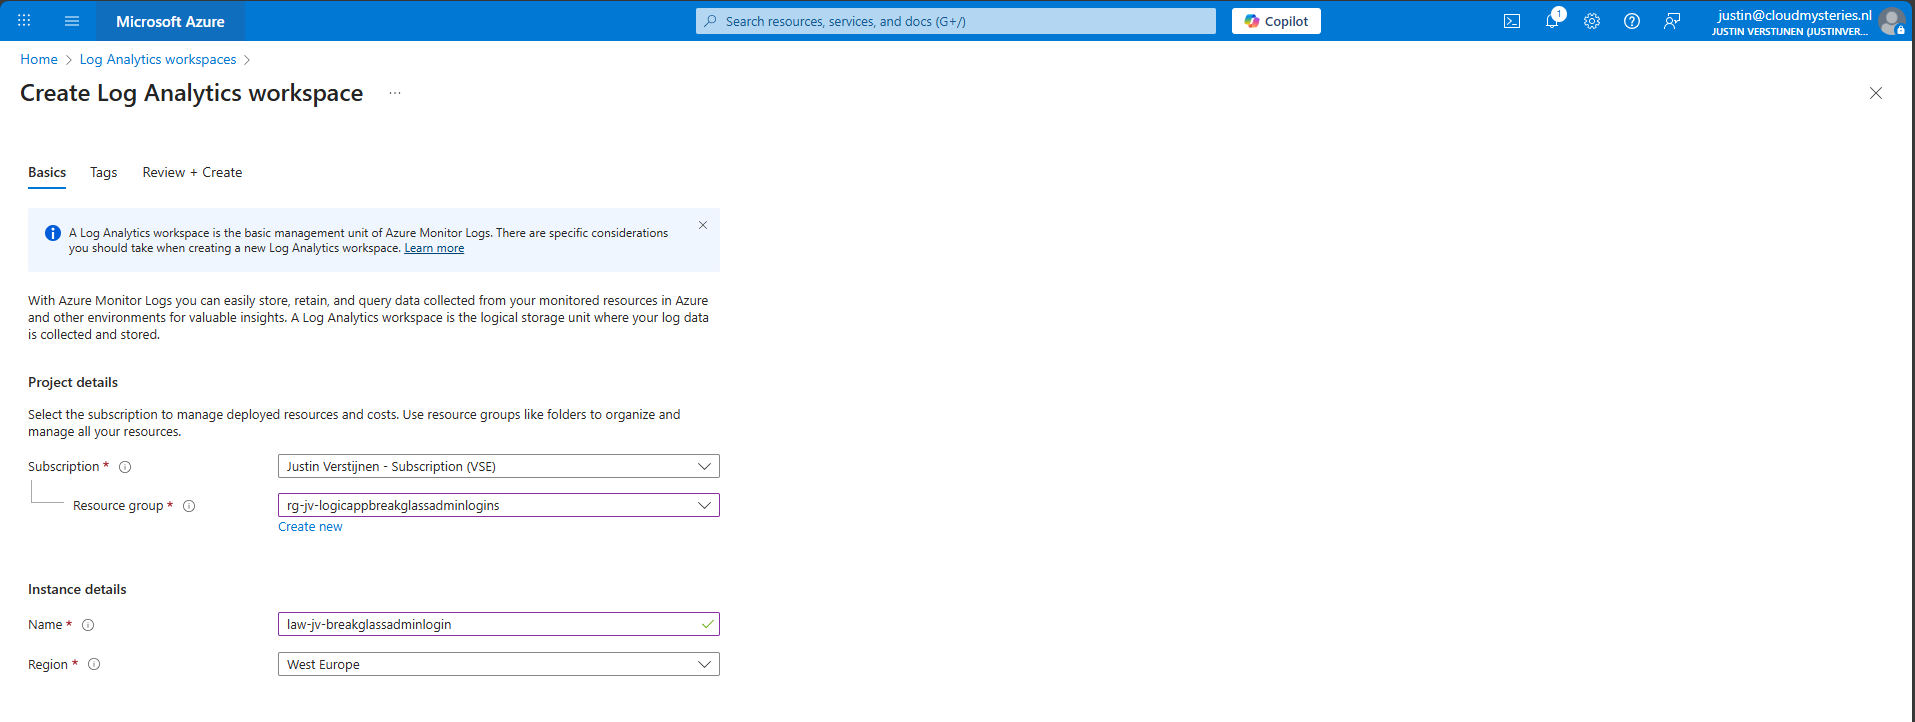
Select the desired resource group and give it a name and create the workspace.
After the workspace is configured, we can configure the data retention and daily cap of the Log Analytics Workspace. As ingesting a lot of data could be very expensive at the end of the month, you could configure some caps. Also, we will only ingest the data needed for this solution, and nothing more.
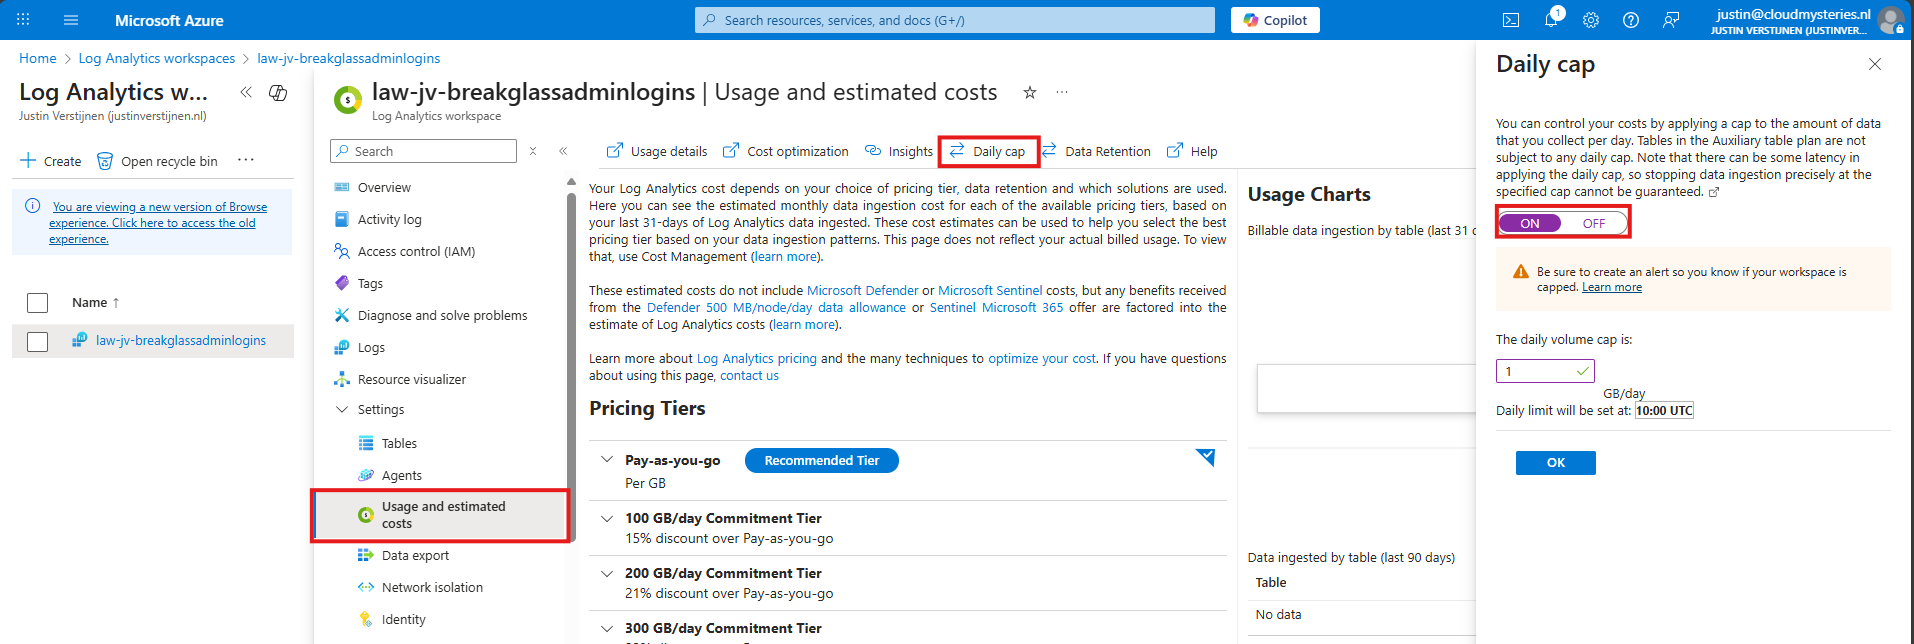
Here I have set the daily cap to 1 gigabyte max per day, which would be more than enough for this solution in my case. In bigger environments, you could set this to a higher value.
Step 2: Configure Sign in logs to Log Analytics
Now we need to configure the Sign in logs writing to our Log Analytics Workspace. We will do this through the Entra admin center: https://entra.microsoft.com.
Go to “Monitoring and Health” and then to “Diagnostic Settings”
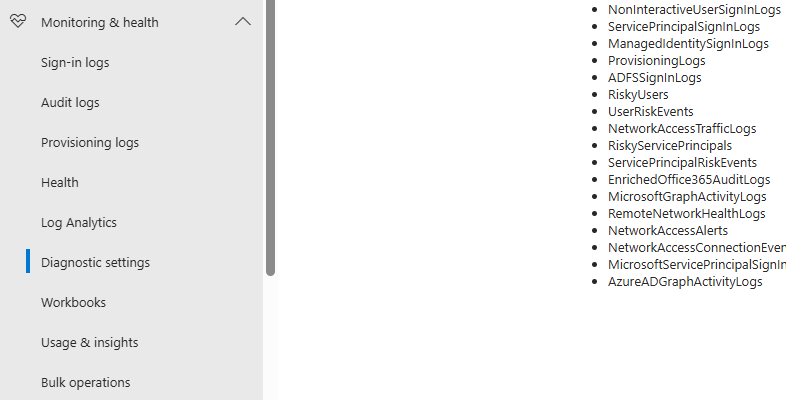
On there, click on “+ Add diagnostic setting”

On this page, give the connector a describing name, select SignInLogs on the left and on the right select “Send to Log Analytics workspace” and then select your just created workspace there.
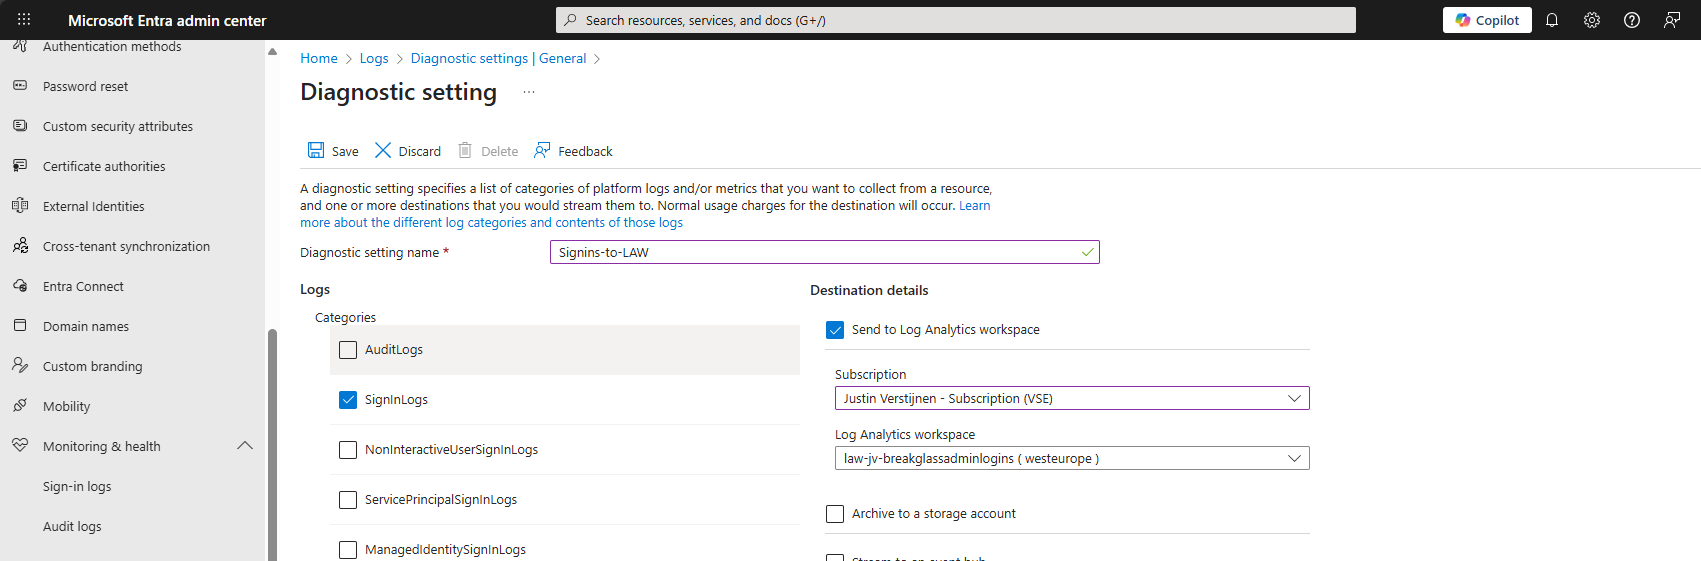
Then click the “Save” button to save this configuration. Now newly created sign in logs will be written to our Log Analytics workspace, so we can do further investigation.
Data ingestion notes
Quick note before diving into the log analytics workspace and checking the logs. When initially configuring this, it can take up to 20 minutes before data is written to the workspace.
And another note, sign in logs take up to 5-10 minutes before showing in the Portal and before written to Log Analytics.
Step 3: Configure the query
In this step we need to configure a query to search login attempts. We can do this by going to our Log Analytics Workspace in Azure, and the go to “Logs”.
We can select a predefined query, but I have some for you that are specific for this use case. You can always change the queries to your needs, these are for example what you could search for.
- To get all successful login attempts for one specific account:
SigninLogs
| where UserPrincipalName == "account@domain.com"
| where ResultType == 0
| project TimeGenerated, UserPrincipalName, IPAddress, Location, ResultType, ResultDescription, ConditionalAccessStatus, AuthenticationRequirement
| sort by TimeGenerated desc- To get all unsuccesful login attempts for one specific account:
SigninLogs
| where UserPrincipalName == "account@domain.com"
| where ResultType != 0
| project TimeGenerated, UserPrincipalName, IPAddress, Location, ResultType, ResultDescription, ConditionalAccessStatus, AuthenticationRequirement
| sort by TimeGenerated desc- To get all login attempts, successful and unsuccesful:
SigninLogs
| where UserPrincipalName == "account@domain.com"
| project TimeGenerated, UserPrincipalName, IPAddress, Location, ResultType, ResultDescription, ConditionalAccessStatus, AuthenticationRequirement
| sort by TimeGenerated desc
Now we know the queries, we can use this in Log Analytics and set the query type to KQL. Paste one of the queries above and change the username to get the results in your tenant:
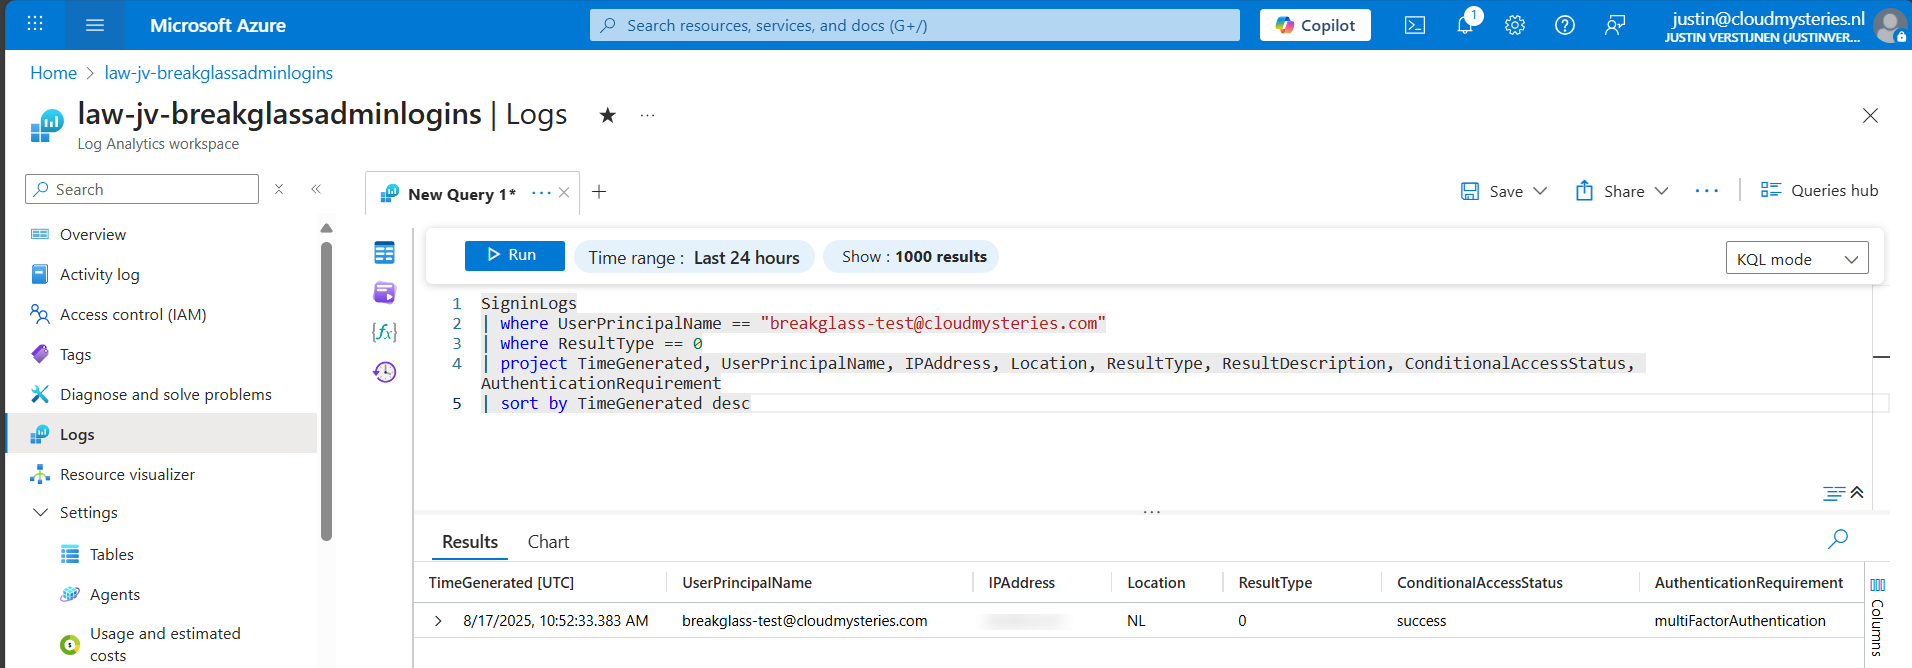
Now we have a successful login attempt of our testing account, and we can see more information like the source IP address, location, if Conditional Access was applied and the resulttype. Resulttype 0 means a successful login.
You could also use the other queries, but for this solution we need to use query one where we only search for successful attempts.
Step 4: Configure the Alert
Now that we have a successful query, we need to configure a alert rule. We can do this while still being in the Log Analytics query pane:
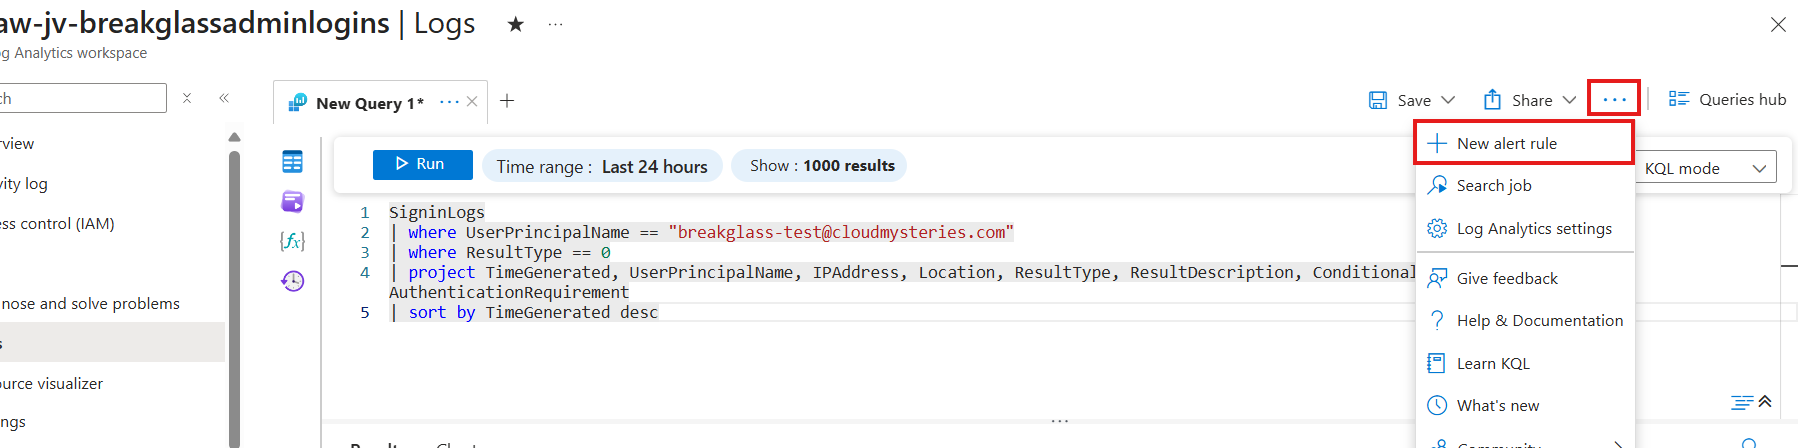
Click on the 3 dots and then on “+ New alert rule”. This creates an alert rule completely based on the query we have used.
On this page, scroll down to “Alert logic” and set the following settings:
- Operator: Greater than or equal to
- Threshold value: 1
- Frequency of evaluation: 5 minutes
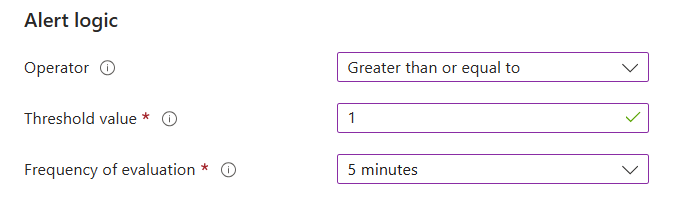
This means the alert is triggered if the query finds 1 or more successful attempts. You can customize this is needed.
Now go to the “Actions” tab. We now need to create an Action group, where we define what kind of notification to receive.
Create a action group if you don’t already have one.
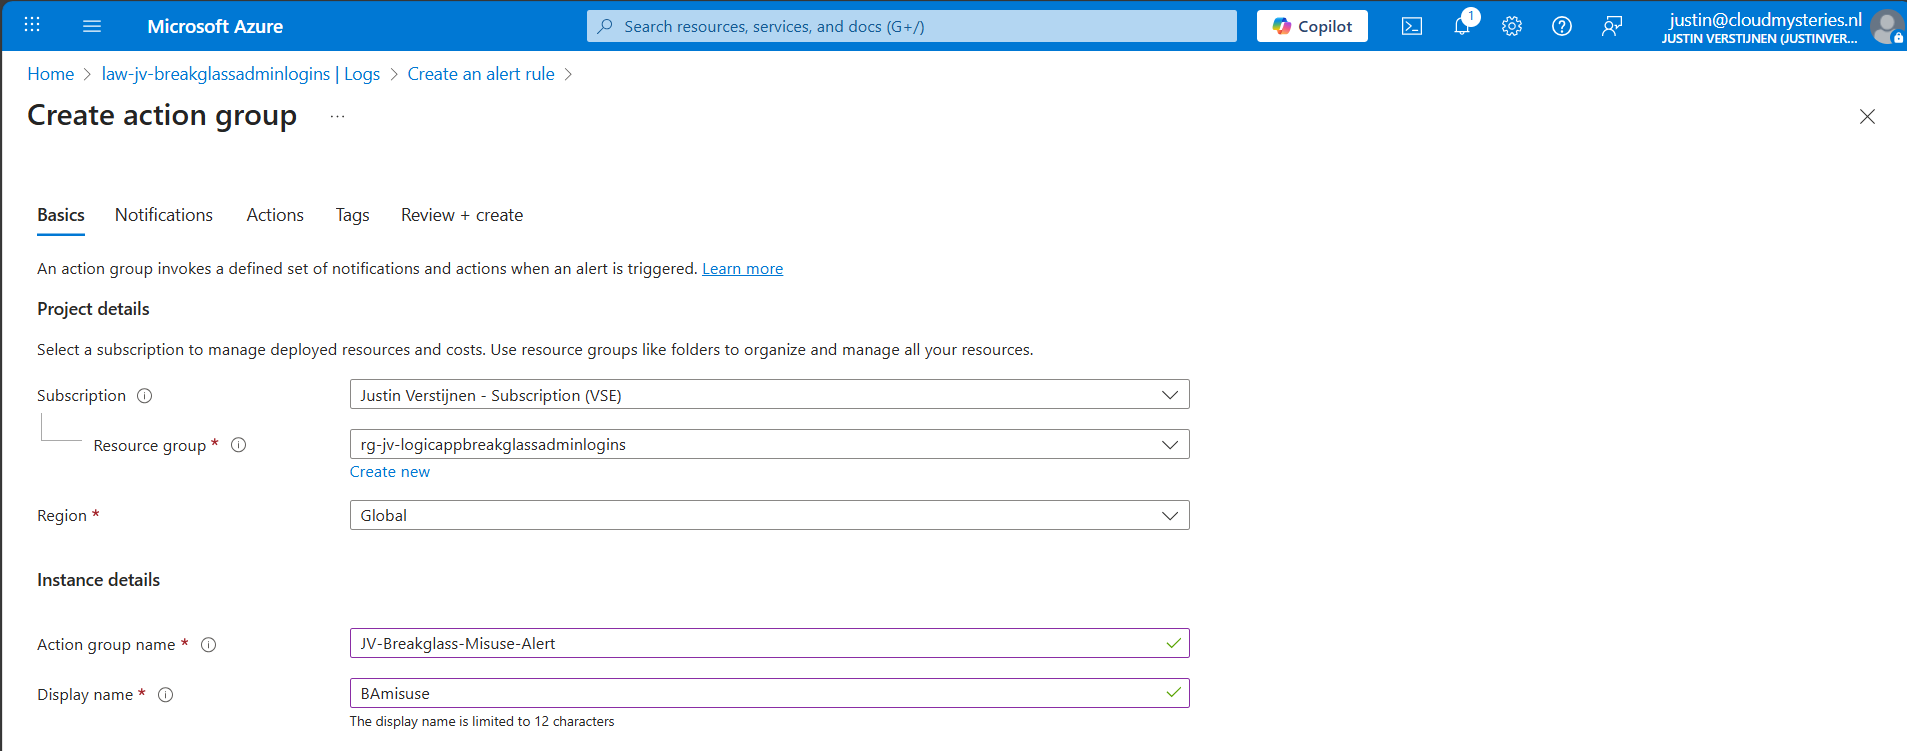
Give it a name and displayname. Good practice is to use a different action group for this alert, as you can define per action group what kind of notification and receivers you want to use.
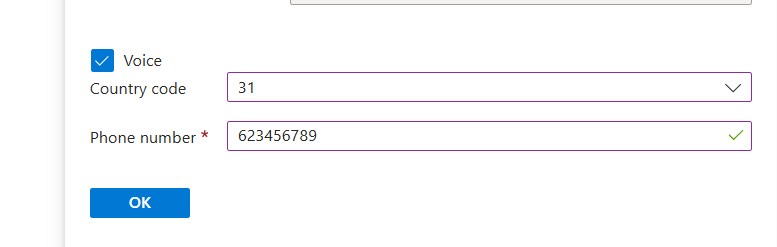
Now go to the “Notifications” tab. Select “Email/SMS message/Push/Voice” and configure the alert. This is pretty straight forward.
I have configured Microsoft to call me when this alert is triggered:
Advance to the next tab.
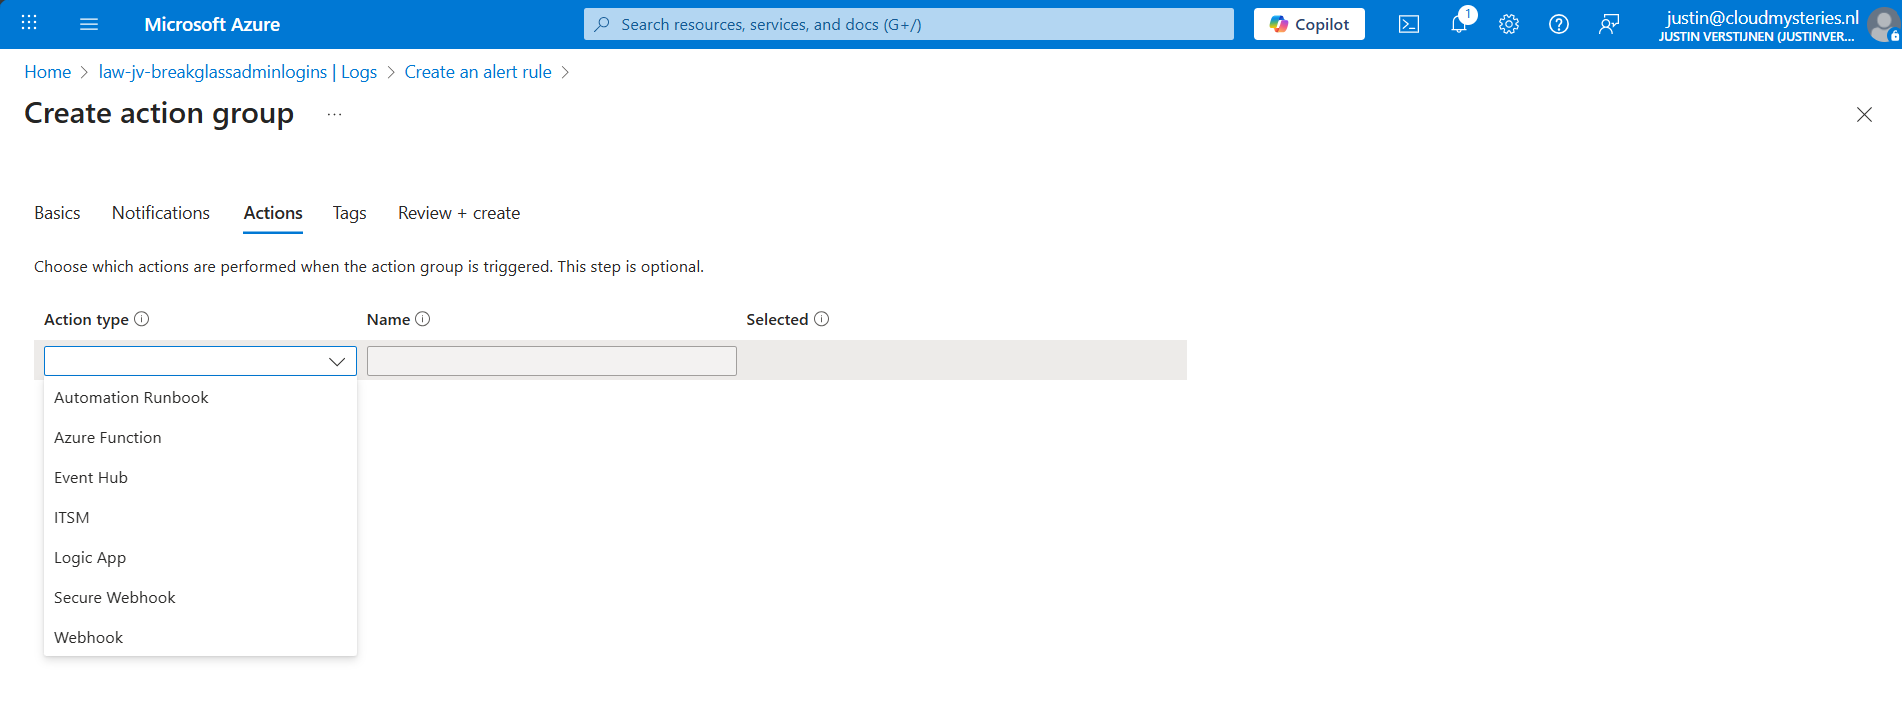
You could also run an automated action against this trigger. As this includes Webhook, you could get customized messages for example on your Microsoft Teams account.
Finish the creation of the Action group.
Step 5: Let’s test the solution
Now we have configured everything, we can test the working of this alert. Let’s prepare an InPrivate window to login to the account:
I have logged in seconds from 13:20:08 hours. Let’s wait till I receive the alerting phone call.
And at 13:27, 7 minutes later, I got an call from Microsoft that the alert was triggered:

This way we will know in a very direct way our break glass account is possibly misused. We could also choose to only get messages from this or use the webhook option which will be less rigorous than getting a phone call. But hey, at least the option exists.
Summary
Monitoring the use of your Break Glass Admins is very important. Those accounts should be a last resort of managing Azure when nothing else and personal accounts doesn’t work. They should be tested at least twice a year and good monitoring like this on the accounts is preferred.
Thank you for reading this post and I hope it was helpful.
Sources
These sources helped me by writing and research for this post;
- https://azure.microsoft.com/en-us/pricing/details/monitor/
- https://learn.microsoft.com/en-us/entra/identity/monitoring-health/howto-analyze-activity-logs-log-analytics
End of the page 🎉
You have reached the end of the page. You can navigate through other blog posts as well, share this post on X, LinkedIn and Reddit or return to the blog posts collection page. Thank you for visiting this post.
If you think something is wrong with this post or you want to know more, you can send me a message to one of my social profiles at: https://justinverstijnen.nl/about/
If you find this page and blog very useful and you want to leave a donation, you can use the button below to buy me a beer. Hosting and maintaining a website takes a lot of time and money. Thank you in advance and cheers :)

The terms and conditions apply to this post.