Getting started with GitHub Pages
Categories:
With GitHub Pages, we can host some free websites for personal use. This is really great as we mostly already use GitHub to store our code and assets for websites. In this guide, I will explain some of the advantages of GitHub Pages, and how to get started by using the service.
Let’s dive into it!
Requirements
- A GitHub account (free)
- A domain name for your website, or you can use the default domain name of GitHub
youraccount.github.io
- A template website to upload to your domain name
- Some basic knowledge about websites and DNS
What is GitHub Pages?
GitHub Pages allows you to host a static website directly from a GitHub repository. This can be done without managing a server, infrastructure, or hosting provider. The only thing you do is create a repository, upload a website, and optionally connect it to a domain name of your choice. We can compare this to Azure Static Web Apps if you are familiar with that.
GitHub Pages supports static websites, which means it can only do frontend code like:
- HTML
- CSS
- JavaScript
- Markdown
You cannot host complex websites with PHP, APIs, Node.js, or Python, or other complex code. For that, I would advise using Azure or your own hosting service.
Step 1: Creating a repository
To start hosting a website on GitHub, we need to create a repository. This is a space where we place all code used for a certain solution, like frontend code and assets. This will be clear in a few minutes.
Open GitHub at https://github.com/ and log in to your account.
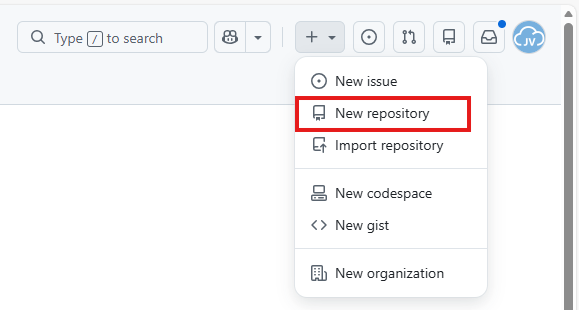
Now in the top-right corner, click on the “+” and create a new repository.
Now give the repository a name and description.
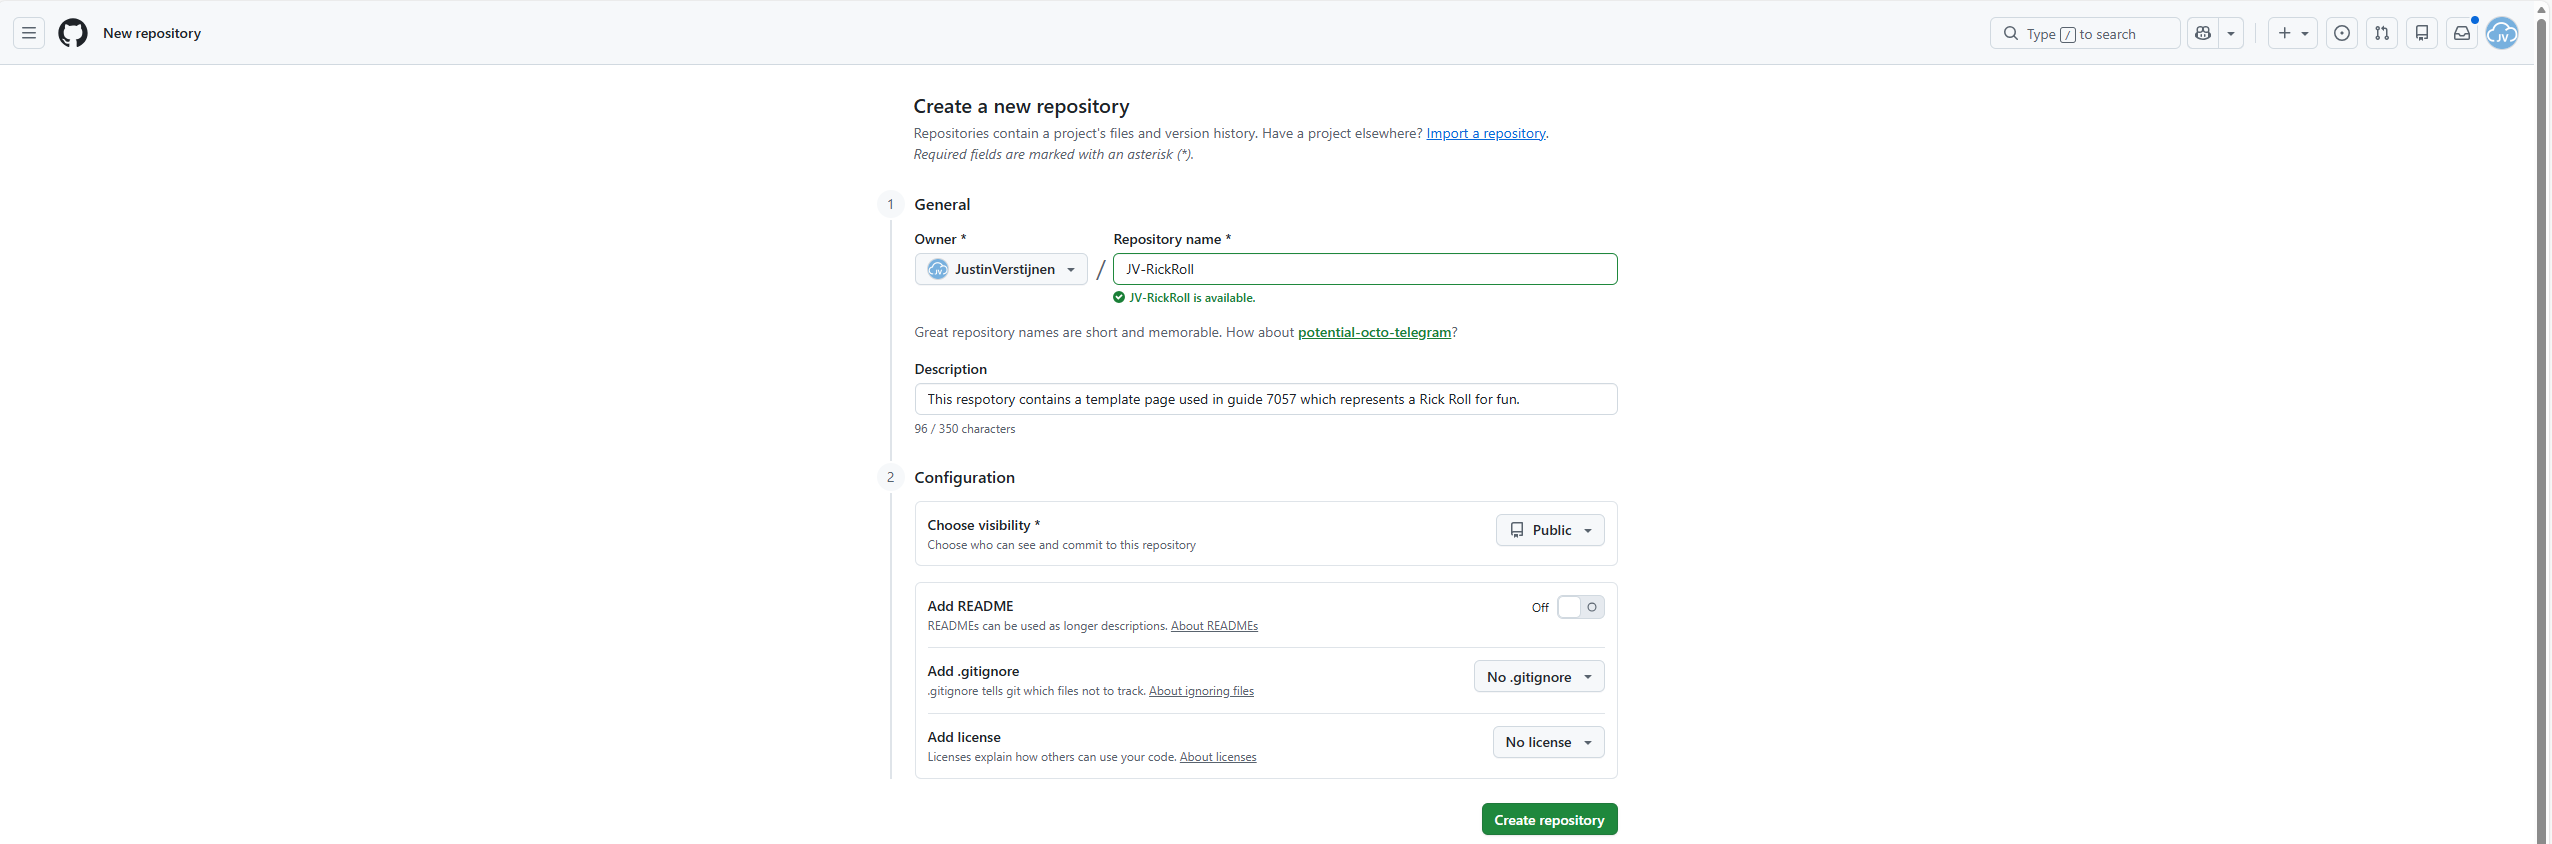
Now the creation of the repository is finished.
Step 2: Uploading the template site
I will create a template site with a Rick Roll meme on it, to make the guide a little bit fun. This is a very simple website with a GIF and sound which you can download and also use. You can also choose to run your own website code of course.
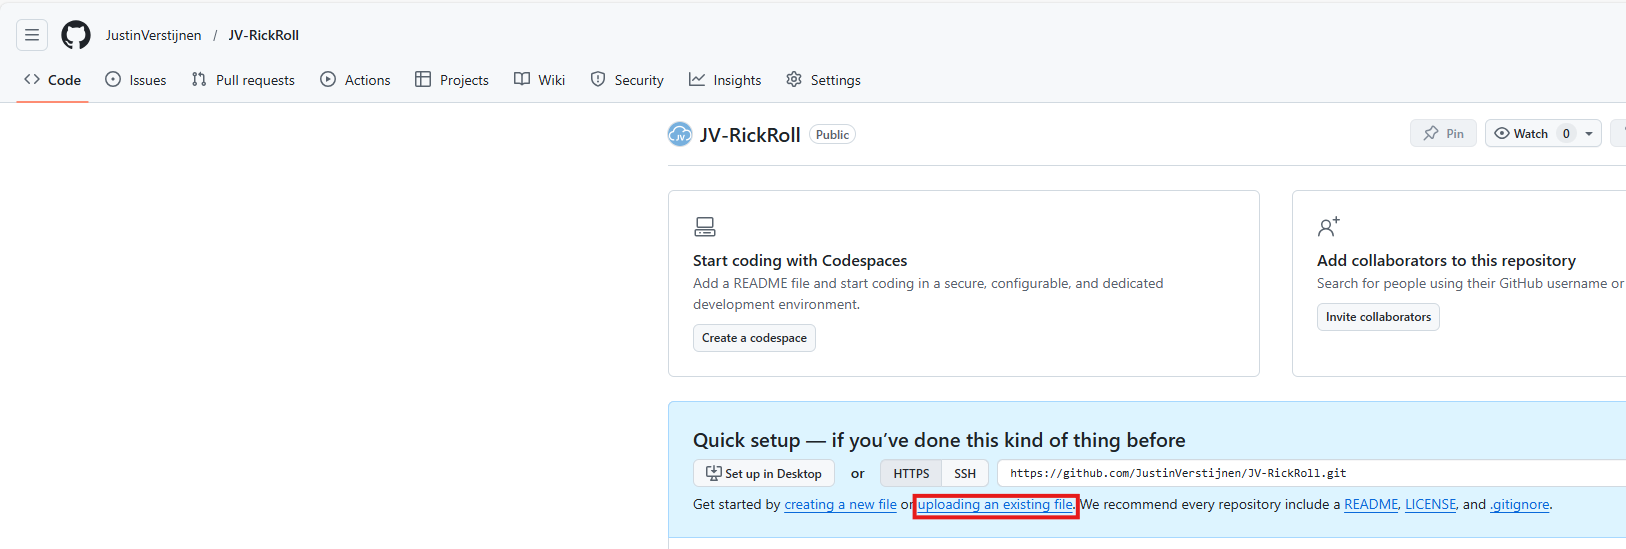
Now finish the repository creation wizard. Then click on uploading some files.
Download the files from my example repository:
Download template site from my GitHub
Click “Code” and then click “Download ZIP”.
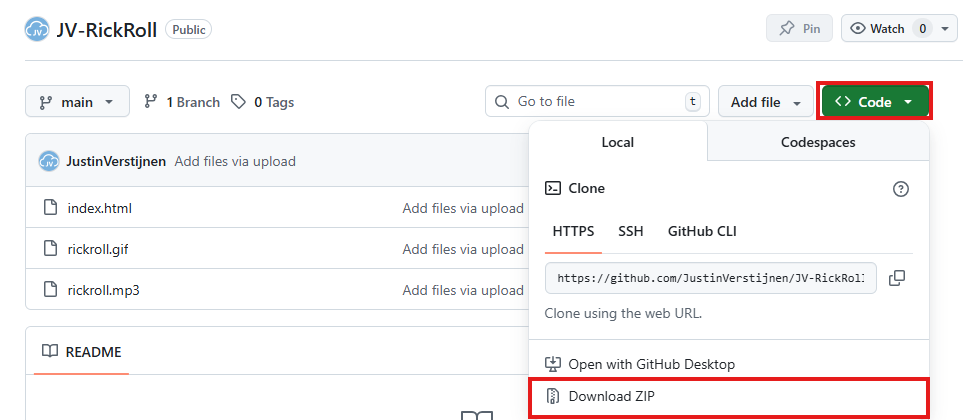
Then upload these files into your own repository.
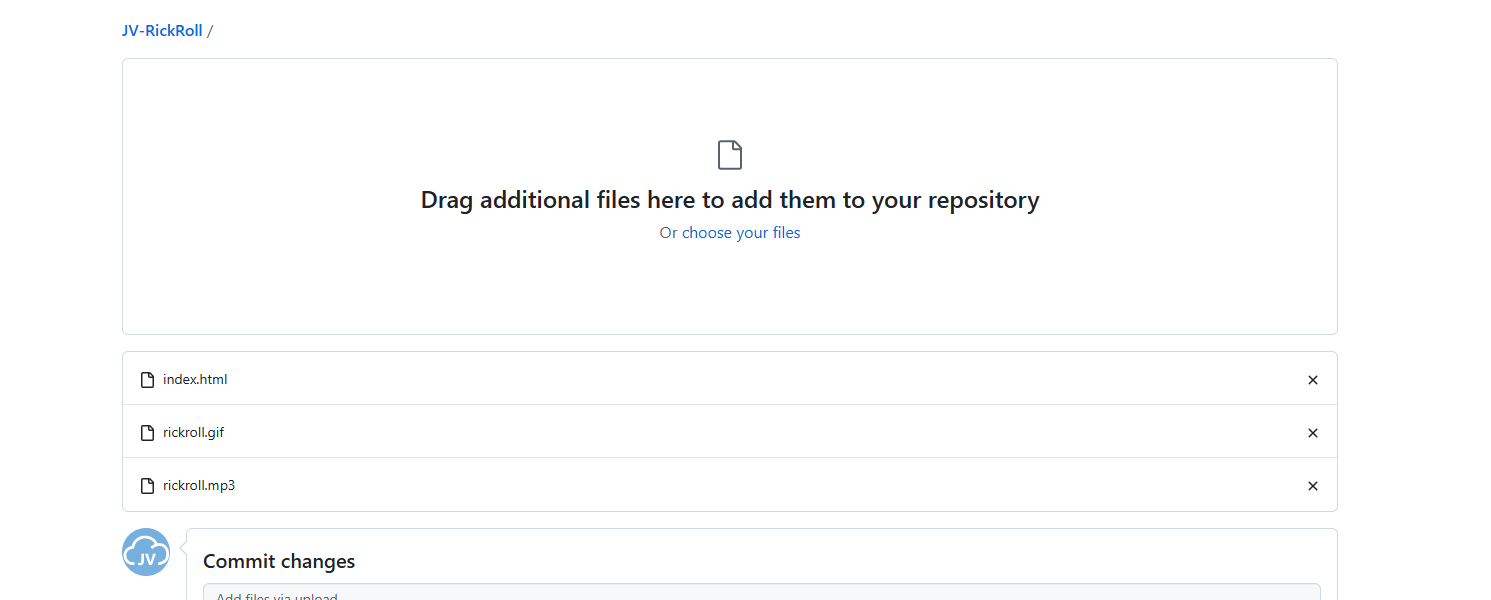
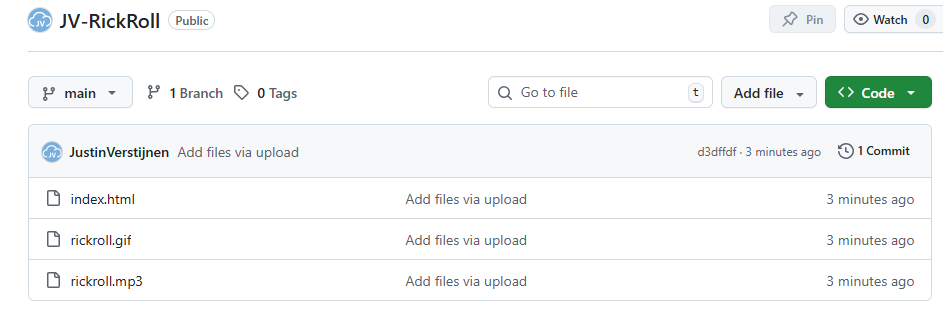
Your repository should have those three files in the root/main branch now:
Step 3: Enable GitHub Pages
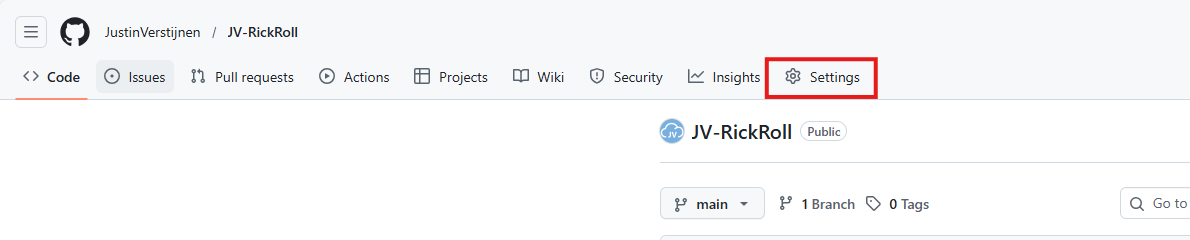
Now we have prepared our repository to host a website, so we can enable the GitHub Pages service. In the repository, go to “Settings”:
Then go to “Pages”.
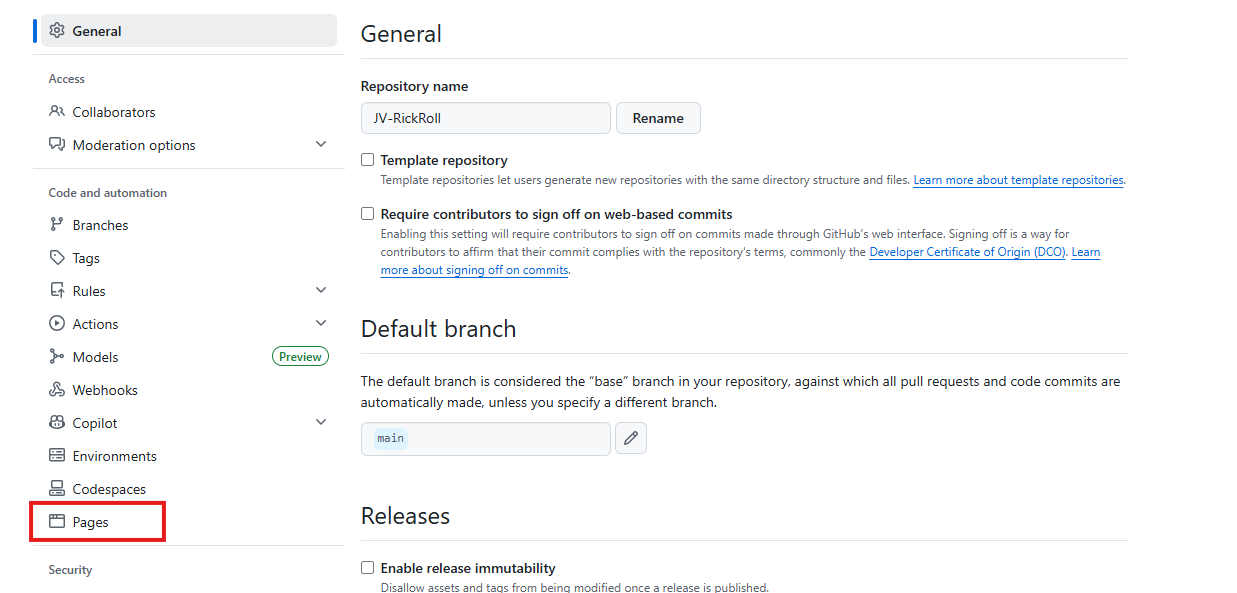
We can now build the website by selecting the branch main and finishing by clicking “Save”.
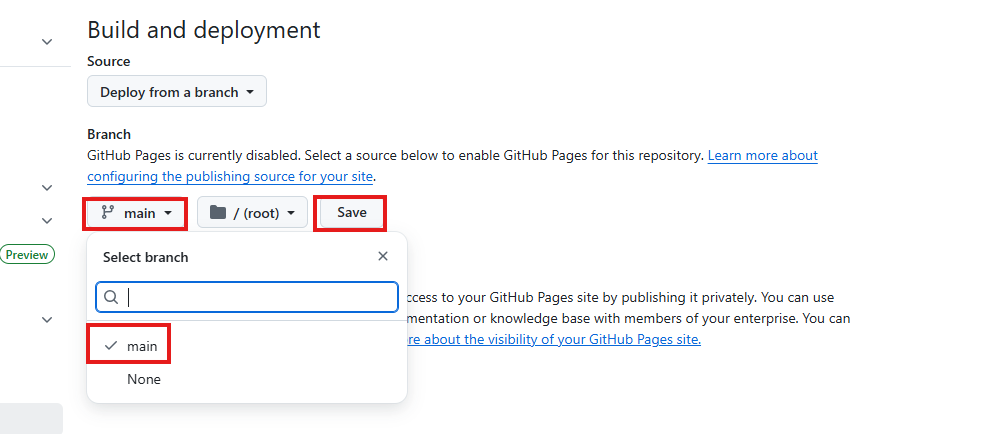
After waiting a few minutes, the website will be up and running with a github.io link. In the meantime, you can continue with Step 4.
Step 4: Linking a custom domain to your GitHub Page
In the meantime, the page will be built, and we can link a custom domain to our repository. You can choose to use the default github.io domain, but a custom domain is more scalable and more professional.
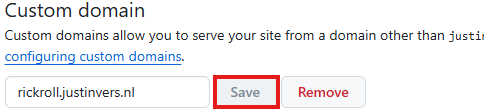
On the same blade where you ended Step 3, fill in your custom domain. This can be a normal domain or subdomain. In my case, I will use a subdomain.
Now we have to do a simple DNS change in our domain, linking this name to your GitHub so the whole world knows where to find your page. Head to the DNS hosting provider of your domain and create a CNAME record.
In my case, I created this CNAME record:
| Type record | Name | Destination |
|---|---|---|
| CNAME | rickroll | justinverstijnen.github.io. |
Make sure to end the destination with a trailing dot .. This is required because it is an external domain in the context of your own domain.

The TTL does not really matter. I stuck to the best practice of 60 minutes / 1 hour.
Save your DNS settings and wait for a few minutes. Heading back to GitHub, you will see this in the meantime:
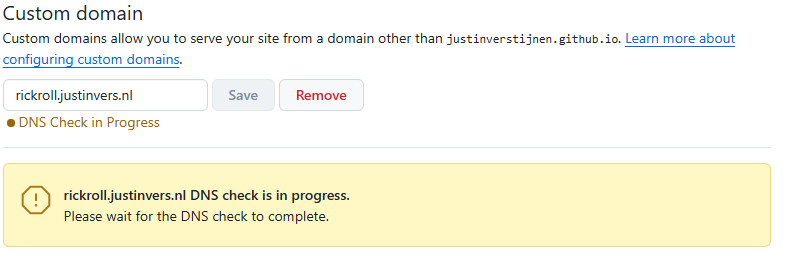
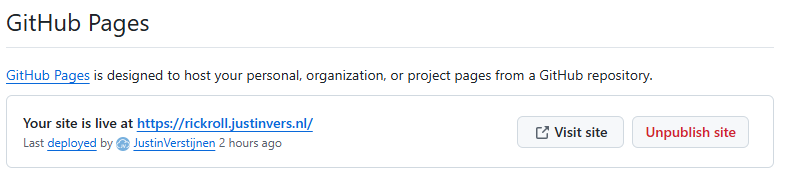
Keep this page open. Then after waiting some minutes, and possibly getting yourself a coffee, you will see a notification that the website is up and running and live:
Step 5: Enabling HTTPS
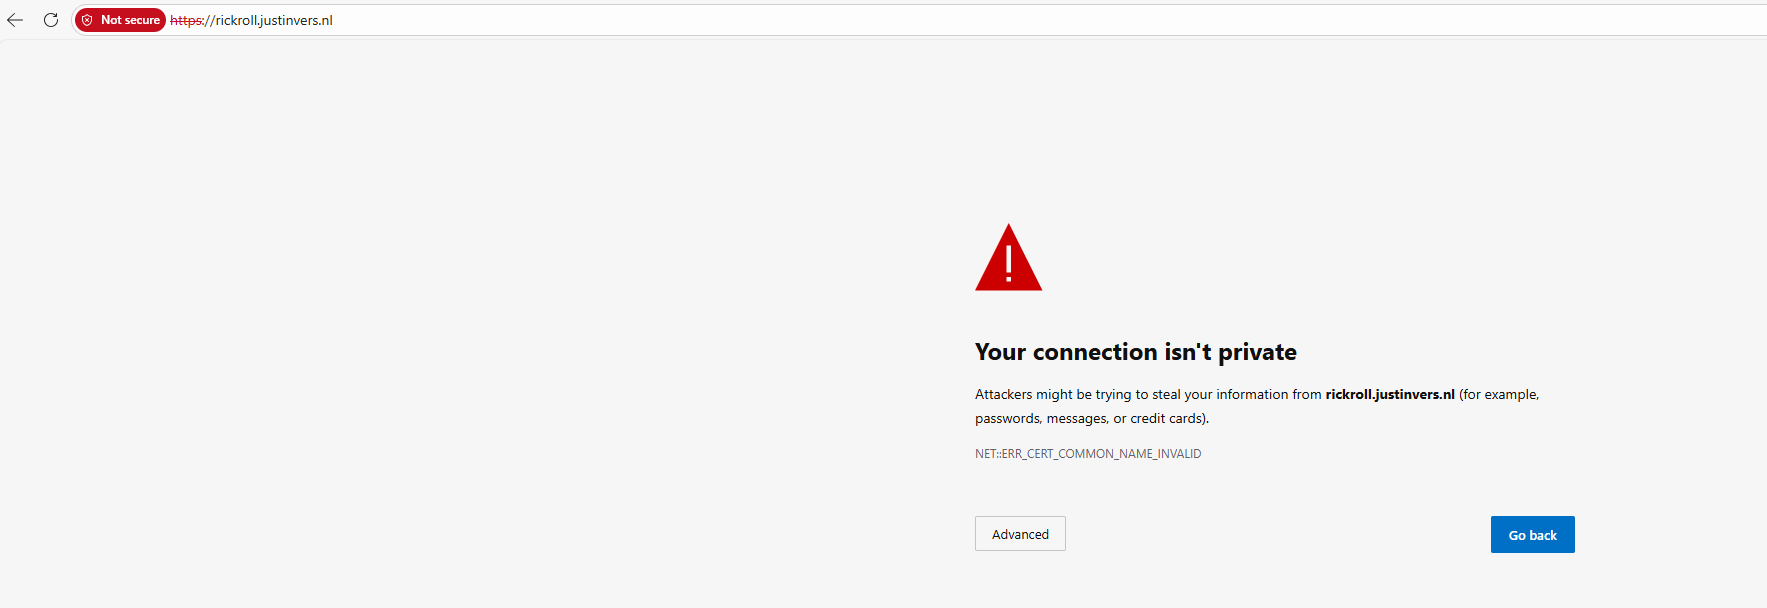
After the custom domain is successfully validated and configured, we need to enable HTTPS for a secure transfer of data to our site. Otherwise users can get this error when visiting the website:
In the GitHub Pages blade, we have to wait for GitHub linking a certificate to your new website. I have seen cases where this takes a few minutes but also up to a few hours.

After this is done, we can check this checkmark on the GitHub Pages blade:
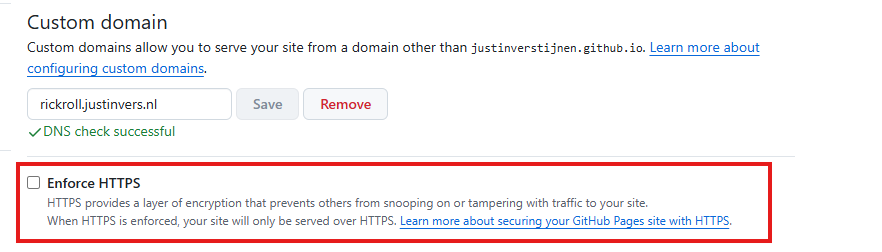

Now the site is fully up and running and secured. Yes, even if we are hosting a meme.
Step 6: Testing the page
After waiting for all the preparations to complete, we can finally test our page on the internet. Go to your custom domain in your favorite browser and test if everything works:
It looks like we are ready and done :).
Summary
GitHub Pages provides a simple and reliable way to host static websites for free. It integrates directly with Git, requires no server maintenance, and supports custom domains with HTTPS.
You can easily host documentation, portfolios, memes, and lightweight projects, and it offers a practical hosting solution without added complexity. If backend functionality is required, you will need to combine it with an external service or choose an alternative hosting platform, like Microsoft Azure or AWS.
Thank you for visiting my website and I hope it was helpful.
Sources
These sources helped me with writing and research for this post:
- https://docs.github.com/en/pages/getting-started-with-github-pages/creating-a-github-pages-site
- https://docs.github.com/en/pages/configuring-a-custom-domain-for-your-github-pages-site/about-custom-domains-and-github-pages
End of the page 🎉
You have reached the end of the page. You can navigate through other blog posts as well, share this post on X, LinkedIn and Reddit or return to the blog posts collection page. Thank you for visiting this post.
If you think something is wrong with this post or you want to know more, you can send me a message to one of my social profiles at: https://justinverstijnen.nl/about/
If you find this page and blog very useful and you want to leave a donation, you can use the button below to buy me a beer. Hosting and maintaining a website takes a lot of time and money. Thank you in advance and cheers :)

The terms and conditions apply to this post.